Tuesday, October 11, 2011

Autumn Decor

I'm alive! I know, it's unbelievable, esp. considering the last time I blogged was all the back in JUNE; Ahh! That's really not acceptable! In my defense I was very busy with college preparation, and now I'm very busy IN college. Hopefully I can start posting more often on here, but I certainly can't make any promises.

In the mean time though, I do want to share my autumn decor for this year with you all. I put it up a couple weeks ago, but only just got around to taking pictures of it more recently. The lighting has to be just right you know, and there were quite a lot of cloudy days in a row there for awhile.

Some of the things here are very similar to last years decor, but some of it is completely new. As before, I've purchased most of my fall decor from the dollar store (a couple things from walmart), so it's all very cheap. It can be a bit time consuming though. Me and my mom ended up taking the entire day to shop for the decor and then decorate everything in the house. We were quite exhausted afterwords.

Alright, so enough from me, lets get started with the family room:


...moving to the kitchen...


and onto the living room...


Hope you all enjoyed looking as much as I enjoyed putting it all together! Thanks for reading, and don't forget to subscribe if you like what you see!

Monday, June 13, 2011

Graduation Open House

I know, I know, I've been neglecting this blog. I just realized yesterday that I've posted only once each month for the last three months! Luckily with this post I'll be fixing that; it will only be two months in a row with one post now, instead of three. :P

Anyways, I do have good reasons for not posting, one of them being that I had a ton of work to do planning my open house. In years past, me and my mom had done very typical open house decorations with balloons, crepe paper, plastic table cloths, etc. and they were fine, but if you know anything about me, you know that I would have none of that "typical" stuff. I think I horrified my mom a little bit when I didn't want to get any of the decorations at the party stores we went to because she thought it was going to be impossible to please me. Honestly, I kind of thought the same thing. Fortunately that was not the case. We ended up having to hand make a lot of the decor, but it was worth it.

Below are the finished results:

The Food Table:

All the tables cloths we used were made from drop cloth from Walmart. I've heard of many others using drop cloth for things in their homes, but I had never done it myself, so I wasn't exactly sure how it would turn out. I ended up loving the result though. I even had several people ask me what fabric I used for the table cloths. Of course, I loved to see the look on their faces when I told them it was drop cloth.

Interesting story about the piece of wood on the table shown above. That's actually my attempt at making driftwood. Though, when I say "making" I really mean more of "causing." Because we had a baby pool in our backyard all of last summer, I decided it would be a good idea to put the wood inside the pool and just let it float in their all summer to see what happened to it. I didn't expect it would do much, but I was curious anyways. Surprisingly, after a few weeks, it caused the bark to become very soft, so I ripped all the bark off hoping to "speed up" the process and then put the wood back in the pool. After another month or so the wood looked pretty nice. It's not as twisted or contorted as REAL driftwood, of course, but it's still got a nice driftwood feel.


The fruit display was made by me (although I didn't cut up the fruit) and it's quite an easy thing to do. It really looks impressive too! We just used a cake stand and large serving tray to put the fruit on. You start with your melon rinds which you should save when you cut up the fruit. Place them where you want and then fill them with your fruit of choice, allowing some of the fruit to "spill" over the edge of the rinds. You can also use small bowls to hold the fruit (as you see I have done) if you don't have enough rinds.

Here's detail shot of the fruit.


I put sage colored ribbons on the serving bowls just to help tie them in to all the other decor. I had to super glue them to the bowls, but it really didn't work THAT well because the bowl's edges are slightly slanted which caused the ribbon to go on crooked.

I was both fortunate and unfortunate with the weather at my open house. Fortunate in that it was cloudy enough that the candles illuminated the table beautifully, but very unfortunate in that it rained very heavily during a good portion of my open house.

The Cake Table:

Outdoor eating:

In the end I was pretty satisfied with the finished result! It was very close to how I imagined it and, of course, it's always nice to see your imagination come to life!

Thanks so much for reading and as always don't forget to check out these awesome link parties.

Sunday, May 1, 2011

Spring Table Setting

Haven't updated for a few weeks now, mostly because I really haven't been working on much new stuff. I got some stuff planned though, so hopefully I'll be able to get on that now that my college class is ending and I'll have more free time. In the mean time I wanted to share a spring table setting I did this last week. I was randomly inspired by the spring weather, and was rather tired of not working on anything home decor related so I decided to churn out a couple table settings just for the fun of it.


I got these wonderful weaved place mats from my grandma's house a few years ago. I've never used them once since then, so I excited to finally pull them out.


The greenery clippings I cut from an apple tree in our backyard. Unfortunately it wasn't quite blooming yet, so I had to cut a few flowers from a different plant and add them to the leaves to give more interest.


That's about all I have for now. Definitely plan on getting some more projects done very soon, and I'll be sharing them with you all once I do.

Thanks for reading, and please subscribe if you like what you see! :)

Linked to: http://betweennapsontheporch.blogspot.com/

Saturday, April 9, 2011

Bathroom Vanity Redo

So...it's been a long time, I know. I feel like a horrible blogger. I'm afraid once I get out of the groove of doing something (like posting) I tend to have a hard time getting back into it, but I'm going to try my best.

Today I'm going to share my bathroom vanity redo with all of you. Unfortunately I don't have any before pictures because I took them years ago and I can't find them anymore. Ya'll will just have to be satisfied with the after pictures. *sighs*

Before the vanity was just a natural wood tone. Nothing too hideous, but it was basically just boring. I decided to go with a neutral, gray washed looked. I was somewhat inspired by this hutch from pottery barn:


I really love the tones in it! Mine, of course, doesn't look quite so good, and had to be interpreted a bit for a vanity, but I'm pretty pleased with the final result:


Please forgive some of the awkward angles. Our bathroom is quite small and doesn't allow for ideal angles.


That's all for now, but hopefully I'll get another post up soon and not wait a whole month before I post again! Thank you all so much for reading, and don't forget to subscribe if you like what you see. :)

Please visit these incredible link parties!

Wednesday, March 2, 2011

Living Room Reveal

This post is late. Like, really really late! I finished this project before I even posted about the painted trim, which makes it over a month old! I had every intention of posting it sooner, but I just never got around to it. So I'm really really sorry about not updating more. When you have 50 million different hobbies as well as school you just don't always get everything done that you'd like to but I'm sure you all understand that.

Anyways, enough apologizing, let's get to the project! I've been wanting to paint my living room for a long time now. For as long as I can remember it's been painted blue. I have nothing against blue, but when you have blue carpet and blue walls and blue accessories, well...blue gets a bit overwhelming. So I knew that I wanted to paint it, but I struggled for the longest time about what color to paint it. I thought I would do gray for the longest time, which probably would have looked fine, but it never really sat well with me.

I finally found some inspiration from the photo below:

(Source: Unknown)

Yeah, I know it's a bedroom not a living room, but I was more concerned with the color scheme and patterns in the room than the furniture that was in it. I already had some toile valances in my living room, which I thought would fit in nicely with the sort of style seen above. Most importantly, I loved the blue with the understated khaki walls. After much thought a deliberation I finally decided to go with a khaki color for the walls.

Now before I show you the repainted/decorated room, I want to take you back to about a year and a half ago. This is our living room. Brace yourself, it's not a pretty sight:

BEFORE:


To be fair, these pictures were taken during a short period of time when my brother had practically turned the living room into his own little office, so the room didn't always look so bad, but still, I think you get the idea.

Alright, so here is the room after about a year of work, gradually painting this, refinishing that, etc.

AFTER:


As you can see the room retains very few of the original elements...


The sofa had to stay, because we simply can't afford a new sofa right now. However, I plan on getting a slipcover for it as well as some new pillows. Just look at those frumpy blue pillows; awful!

This old rocking chair, which belonged to my grandma, was also kept. (It's not pictured in the before photos, but it was in the room) I hope to recover the cushions on it or buy new cushions for it, and make a toss pillow or two for it.

The TV had to stay of course, but I'm desperately hoping to find a new stand for it at a garage sale or thrift store. Hopefully something that will hide the TV when it's not in use.

The bookshelf got fresh new decor. Unfortunately there's still a little empty part on the left side, 'cause I couldn't find anything that filled that spot correctly. :P Oh yes, and that darn knob fell off one day and never got put back on.

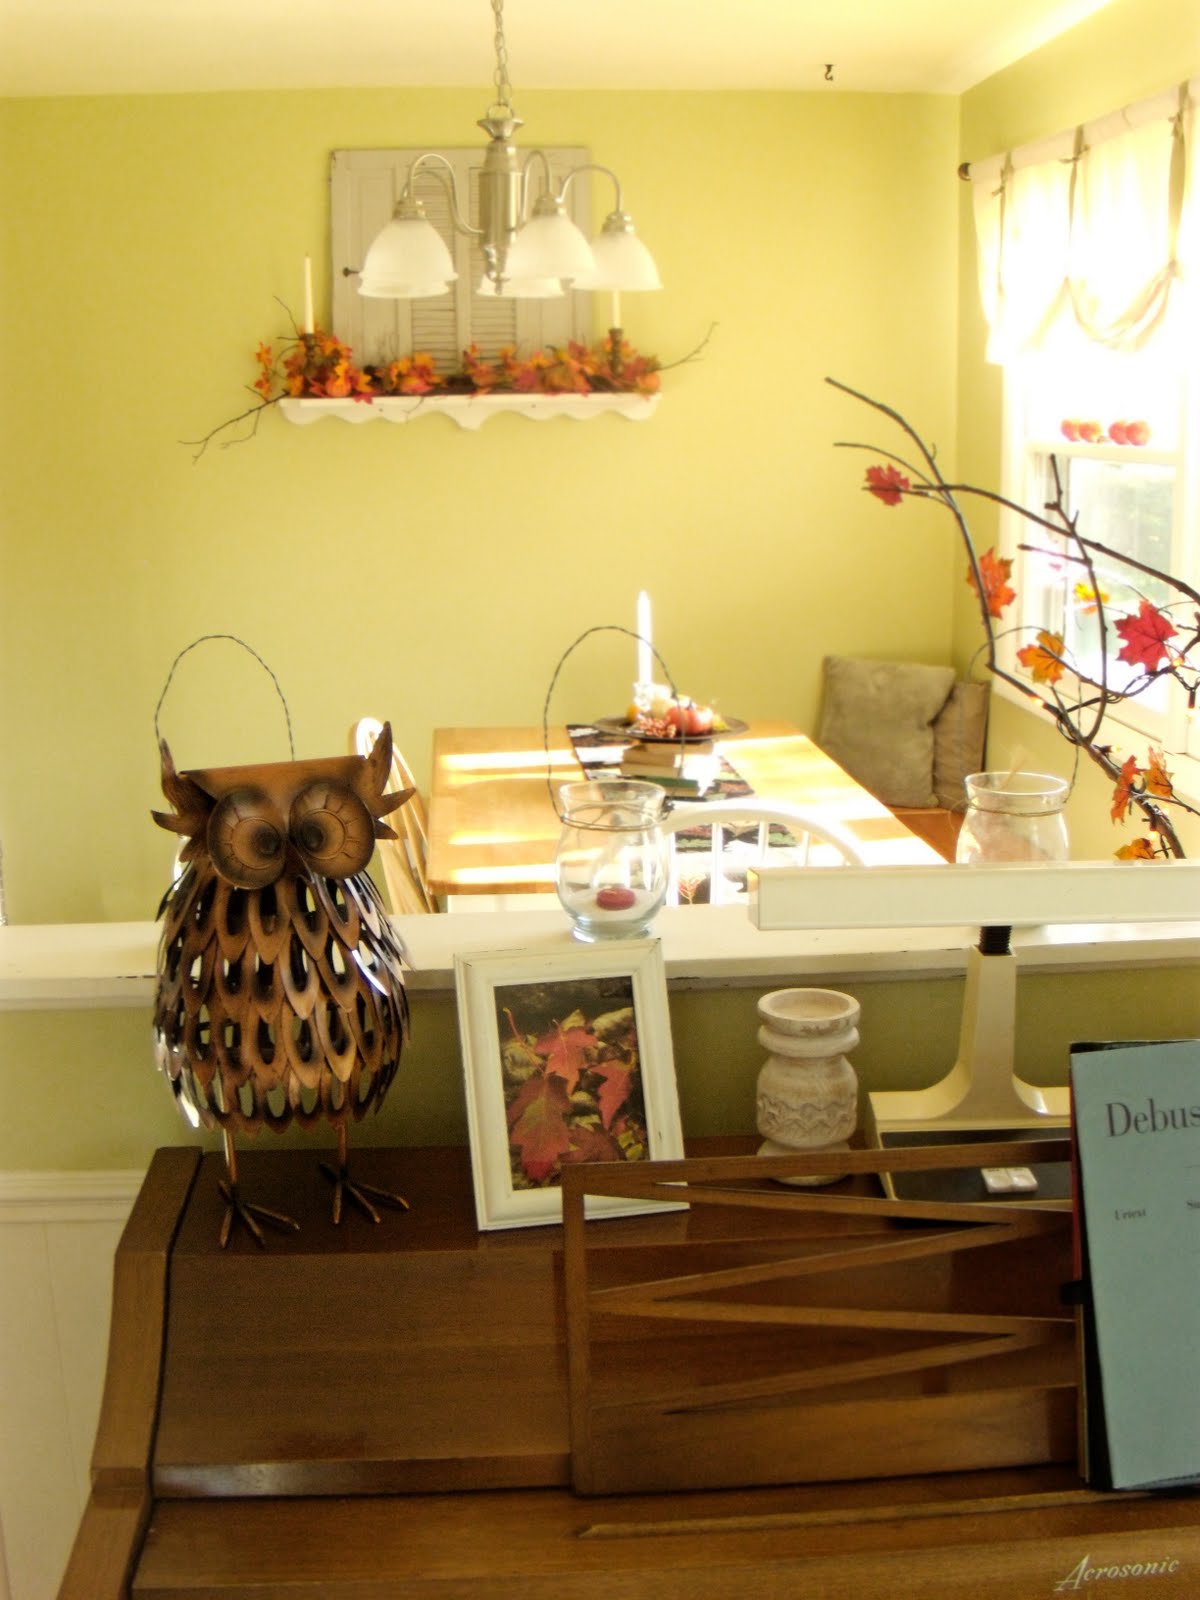
My favorite little corner.


Just a few more details:


So there you are!
The rooms not finished, by any means, but I think it looks loads better and
I'm completely satisfied with the khaki color; it really helps draws attention away from the blue carpet, imo.

Thank you all so much for reading and don't forget to check out these awesome link parties!


Related Posts Plugin for WordPress, Blogger...